

First of all…
I got peer pressured into this, I am not doing this out of free will! Just kidding, in this blog post I will summerize my first journey with Gentoo and how to set it up inside a VM with VMware workstation version 16. This guide will help you setup a virtual instance of Gentoo and i suggest that you read carefully the Gentoo Handbook to understand what we are going to do here in great detail.
Downloading Gentoo and configuring the VMware machine
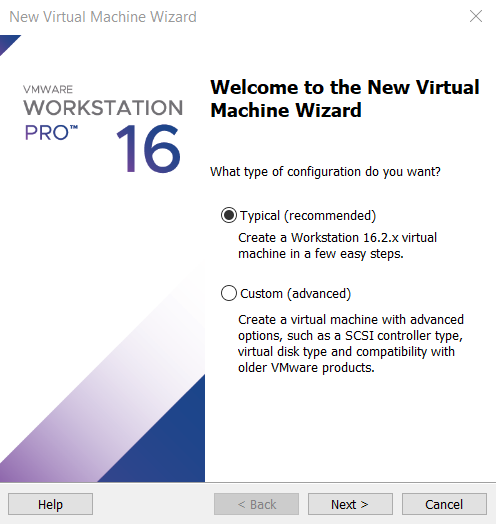
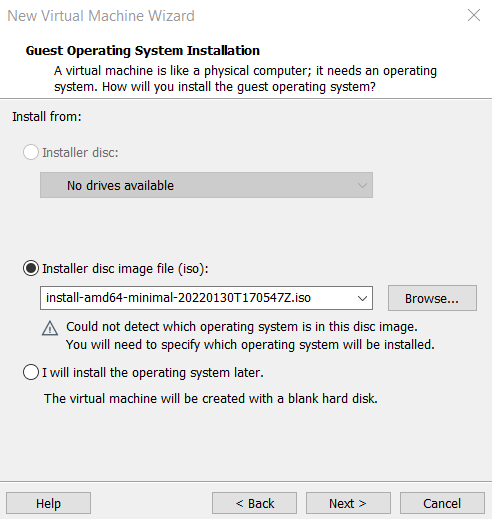
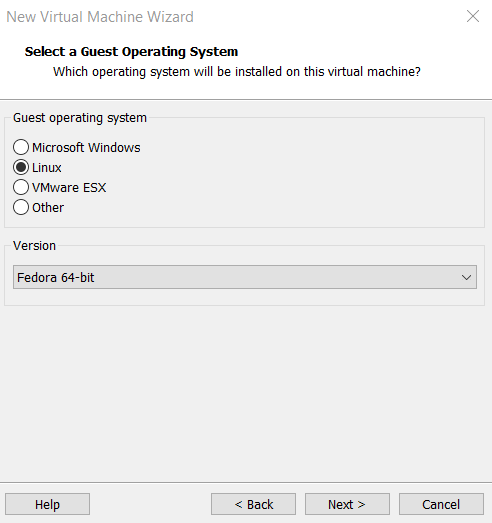
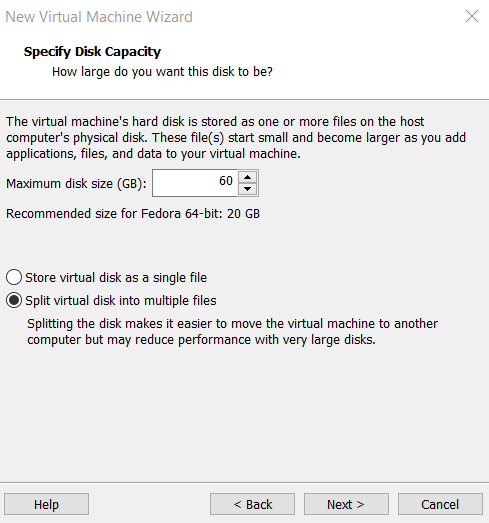
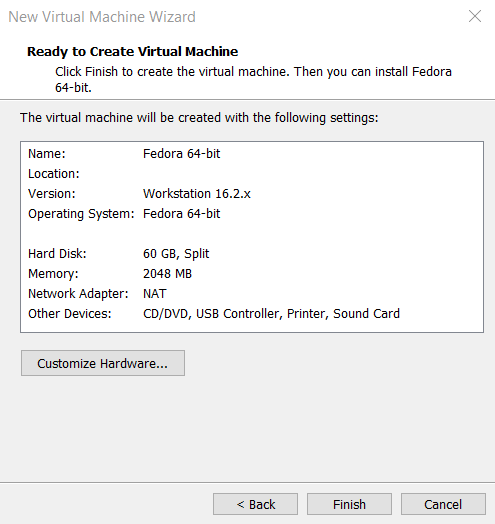
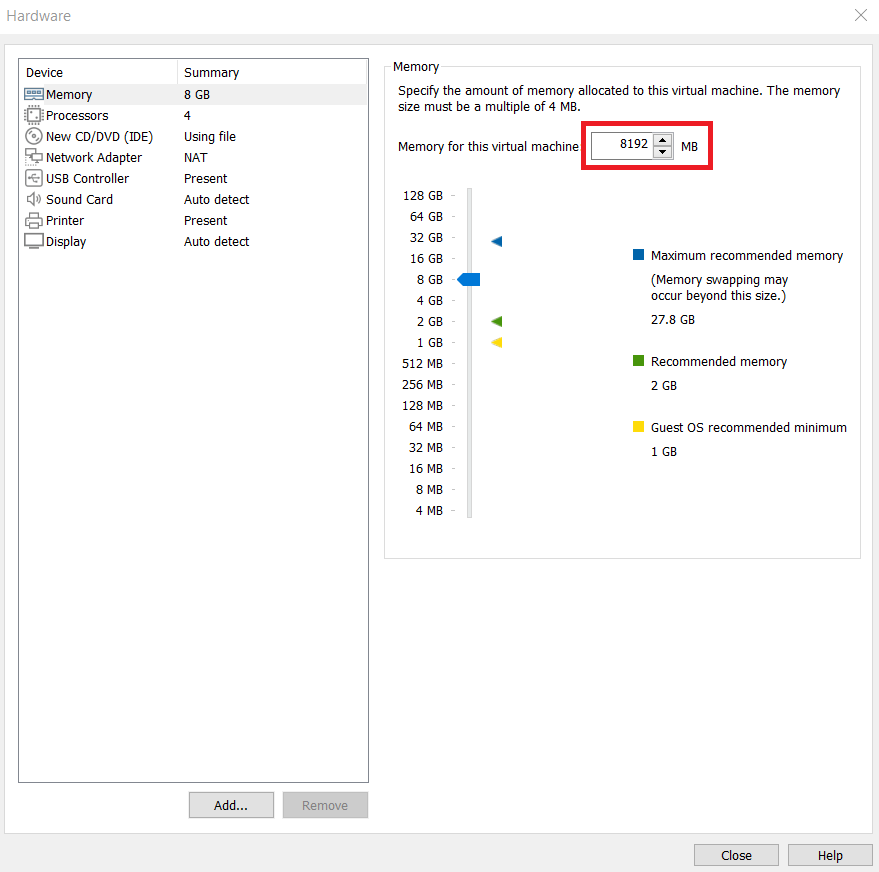
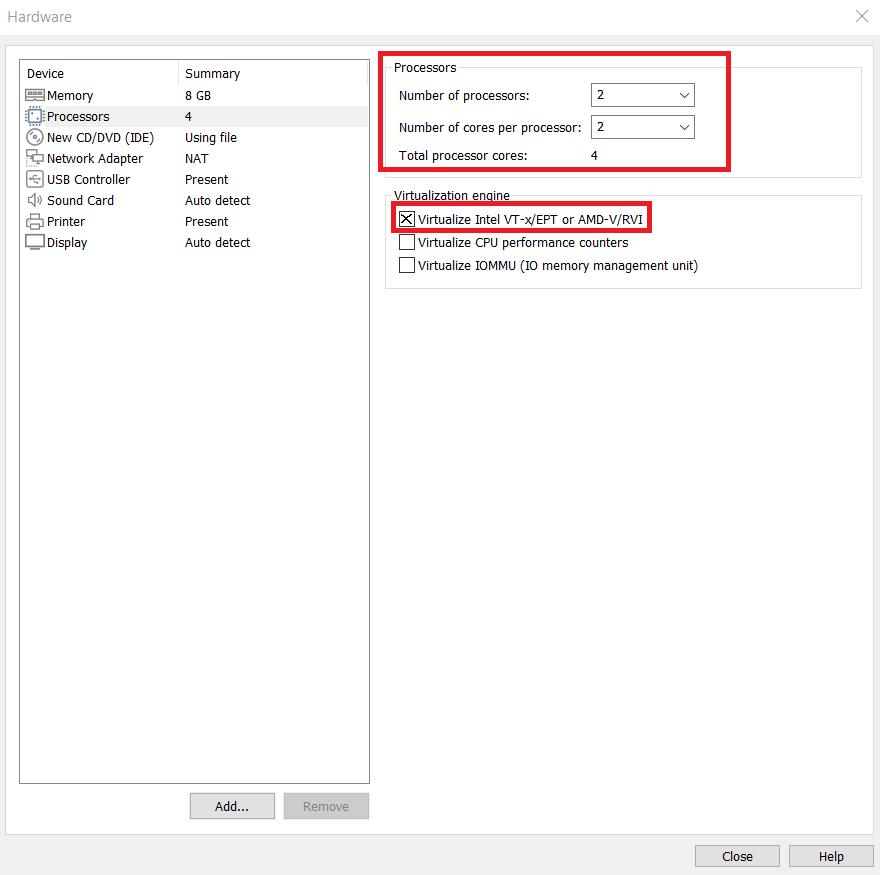
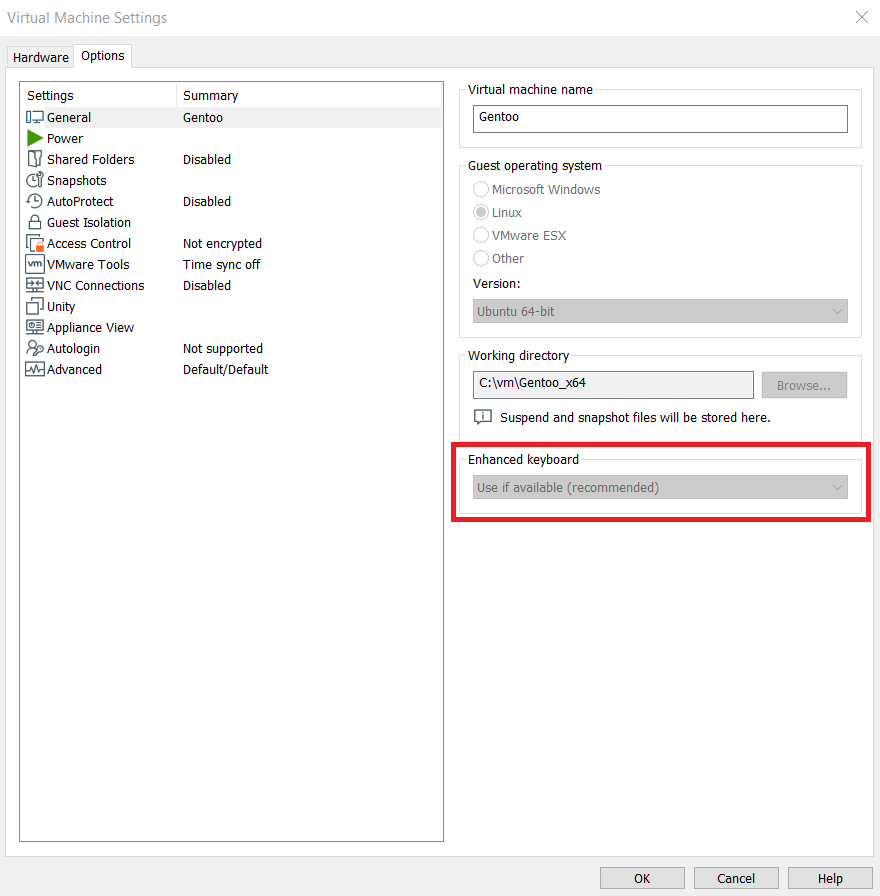
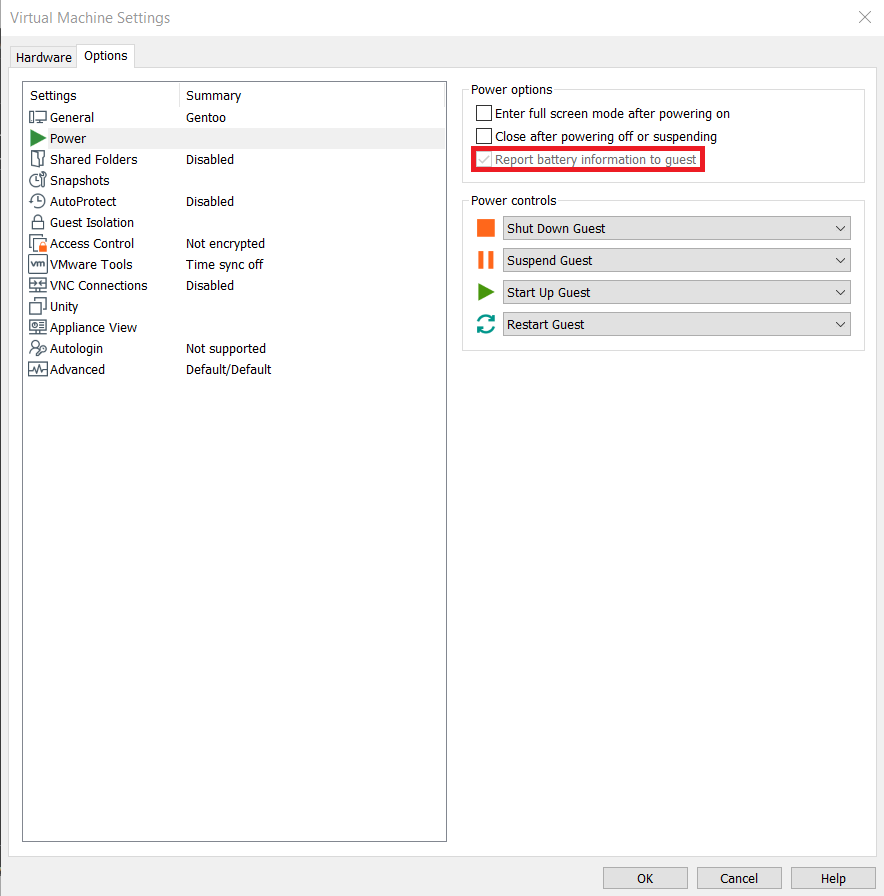
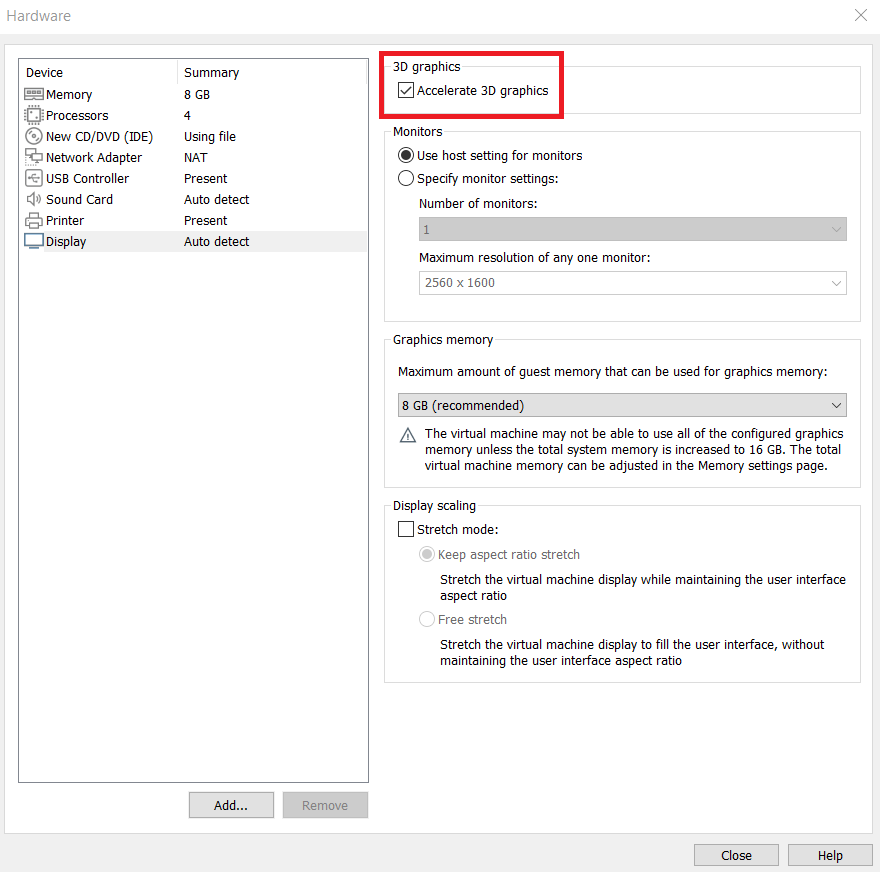
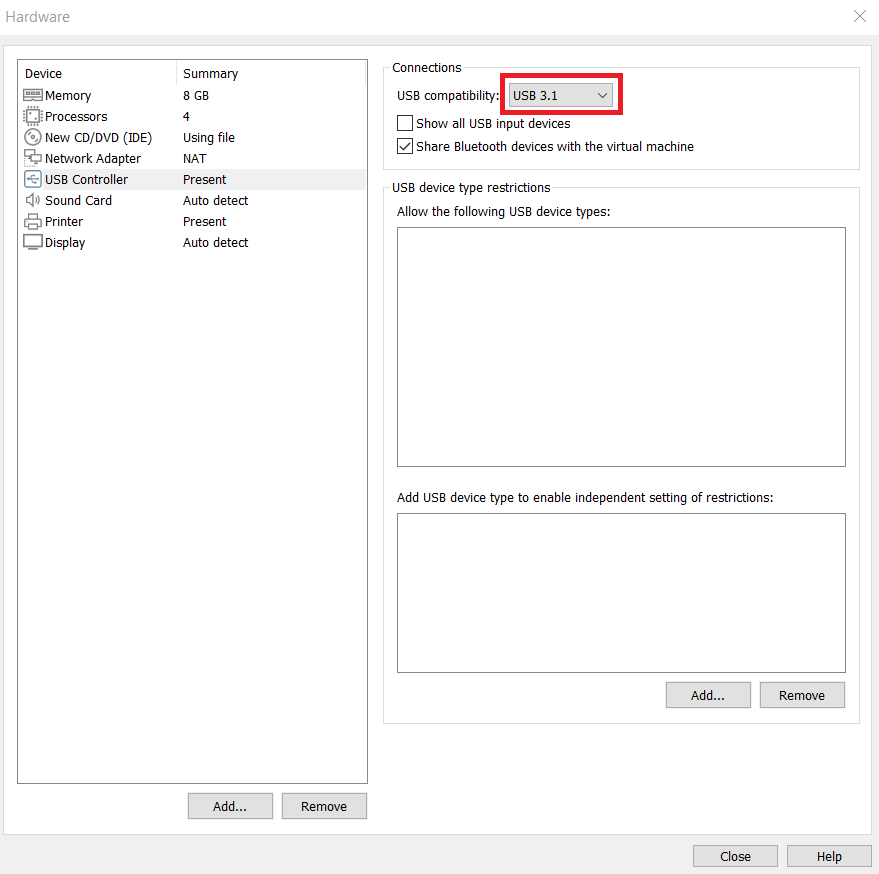
To download Gentoo you need to go the official download page here and choose the AMD64 minimal installation CD. When it’s done downloading we can start setting up the basic vmware instance. Here is a a step by step image guide of all the settings you need to apply inside vmware for best performances. This is based on my setup with a pretty good laptop, your mileage may vary.
Enable UEFI inside vmware
This step is needed in this guide because we are going to use EFI. You need to go to “Edit virtual machine settings” > Options > Advanced > Firmware type (on the right) and select UEFI.
If the option is grayed out, you need to go to the vm files. Open the xxx.vmx file and add the following line : firmware="efi". Now the UEFI option should be selected inside the menu.
Starting the install process
Now that the vm is ready, fire it up! You will get into livecd mode (boot from the iso into a temporary system).
We will start by changing the root password with the command : passwd root (note that every of those white box will be linux a command or a path).
We need to activate ssh by editing /etc/ssh/sshd_config and set PermitRootLogin to yes.
Then we need to start the process by executing this command : /etc/init.d/sshd start
Now you can use a ssh client like mobaxterm or putty to connect to your vm.
Setup Disks and partitions
This is the default configuration from the gentoo handbook. In many cases your drive will be /dev/sda and not /dev/nvme0n1. We will create a GPT layout using UEFI.
fdisk /dev/nvme0n1

Welcome to fdisk (util-linux 2.37.3).
Changes will remain in memory only, until you decide to write them.
Be careful before using the write command.

Device does not contain a recognized partition table.
Created a new DOS disklabel with disk identifier 0x0b5107eb.

Command (m for help): p
Disk /dev/nvme0n1: 60 GiB, 64424509440 bytes, 125829120 sectors
Disk model: VMware Virtual NVMe Disk
Units: sectors of 1 * 512 = 512 bytes
Sector size (logical/physical): 512 bytes / 512 bytes
I/O size (minimum/optimal): 512 bytes / 512 bytes
Disklabel type: dos
Disk identifier: 0x0b5107eb

Command (m for help): g
Created a new GPT disklabel (GUID: F37042F1-BB23-A84C-89B8-F760F2733E7B).

Command (m for help): p
Disk /dev/nvme0n1: 60 GiB, 64424509440 bytes, 125829120 sectors
Disk model: VMware Virtual NVMe Disk
Units: sectors of 1 * 512 = 512 bytes
Sector size (logical/physical): 512 bytes / 512 bytes
I/O size (minimum/optimal): 512 bytes / 512 bytes
Disklabel type: gpt
Disk identifier: F37042F1-BB23-A84C-89B8-F760F2733E7B

Command (m for help): n
Partition number (1-128, default 1): 1
First sector (2048-125829086, default 2048):
Last sector, +/-sectors or +/-size{K,M,G,T,P} (2048-125829086, default 125829086): +256M

Created a new partition 1 of type 'Linux filesystem' and of size 256 MiB.

Command (m for help): t
Selected partition 1
Partition type or alias (type L to list all): 1
Changed type of partition 'Linux filesystem' to 'EFI System'.

Command (m for help): n
Partition number (2-128, default 2): 2
First sector (526336-125829086, default 526336):
Last sector, +/-sectors or +/-size{K,M,G,T,P} (526336-125829086, default 125829086): +4G

Created a new partition 2 of type 'Linux filesystem' and of size 4 GiB.

Command (m for help): t
Partition number (1,2, default 2): 2
Partition type or alias (type L to list all): 19

Changed type of partition 'Linux filesystem' to 'Linux swap'.

Command (m for help): p
Disk /dev/nvme0n1: 60 GiB, 64424509440 bytes, 125829120 sectors
Disk model: VMware Virtual NVMe Disk
Units: sectors of 1 * 512 = 512 bytes
Sector size (logical/physical): 512 bytes / 512 bytes
I/O size (minimum/optimal): 512 bytes / 512 bytes
Disklabel type: gpt
Disk identifier: F37042F1-BB23-A84C-89B8-F760F2733E7B

Device          Start     End Sectors  Size Type
/dev/nvme0n1p1   2048  526335  524288  256M EFI System
/dev/nvme0n1p2 526336 8914943 8388608    4G Linux swap

Command (m for help): n
Partition number (3-128, default 3): 3
First sector (8914944-125829086, default 8914944):
Last sector, +/-sectors or +/-size{K,M,G,T,P} (8914944-125829086, default 125829086):

Created a new partition 3 of type 'Linux filesystem' and of size 55.7 GiB.

Command (m for help): p
Disk /dev/nvme0n1: 60 GiB, 64424509440 bytes, 125829120 sectors
Disk model: VMware Virtual NVMe Disk
Units: sectors of 1 * 512 = 512 bytes
Sector size (logical/physical): 512 bytes / 512 bytes
I/O size (minimum/optimal): 512 bytes / 512 bytes
Disklabel type: gpt
Disk identifier: F37042F1-BB23-A84C-89B8-F760F2733E7B

Device           Start       End   Sectors  Size Type
/dev/nvme0n1p1    2048    526335    524288  256M EFI System
/dev/nvme0n1p2  526336   8914943   8388608    4G Linux swap
/dev/nvme0n1p3 8914944 125829086 116914143 55.7G Linux filesystem

Command (m for help): w
The partition table has been altered.
Calling ioctl() to re-read partition table.
Syncing disks.
The folowing commands will set the filesystem into the partitions
livecd ~ # mkfs.vfat -F 32 /dev/nvme0n1p1
mkfs.fat 4.2 (2021-01-31)
livecd ~ # mkfs.ext4 /dev/nvme0n1p3
mke2fs 1.46.4 (18-Aug-2021)
Creating filesystem with 14614267 4k blocks and 3653632 inodes
Filesystem UUID: 5074399a-16b4-4a43-a193-481cf6efab28
Superblock backups stored on blocks:
        32768, 98304, 163840, 229376, 294912, 819200, 884736, 1605632, 2654208,
        4096000, 7962624, 11239424

Allocating group tables: done
Writing inode tables: done
Creating journal (65536 blocks): done
Writing superblocks and filesystem accounting information: done

livecd ~ # mkswap /dev/nvme0n1p2
Setting up swapspace version 1, size = 4 GiB (4294963200 bytes)
no label, UUID=1578c3eb-da11-4d0f-a387-62f600bcbf18
livecd ~ # swapon /dev/nvme0n1p2
livecd ~ # mount /dev/nvme0n1p3 /mnt/gentoo
If you need to mount back the setup into the live cd dont forget to mount /dev/nvme0n1p3 /mnt/gentoo back.
Installing the stage tarball
Set accurate date and time
We need to verify the time of the machine by doing the date command.
You will maybe need to troubleshoot the time on the machine. To do so, first set the timezone by doing this command export TZ=EST5EDT and then set the date to ntp servers ntpd -q -g. If thoses steps dont work, we can set the date manually by doing this command date MMDDhhmmYYYY (replacing MMDD… with realtime values). This should do the trick.
Fetch the tarball
cd /mnt/gentoo
wget https://bouncer.gentoo.org/fetch/root/all/releases/amd64/autobuilds/20220130T170547Z/stage3-amd64-desktop-openrc-20220130T170547Z.tar.xz
tar xpvf stage3-*.tar.xz --xattrs-include='*.*' --numeric-owner
Compiling options
nano -w /mnt/gentoo/etc/portage/make.conf

#Edit the following line to add march flag :
COMMON_FLAGS="-march=native -O2 -pipe"

#Add this line for parallel jobs in the compiler (2go per worker) :
MAKEOPTS="-j3"

#You can also accept every licences exept EULA by adding this line :
ACCEPT_LICENSE="* -@EULA"
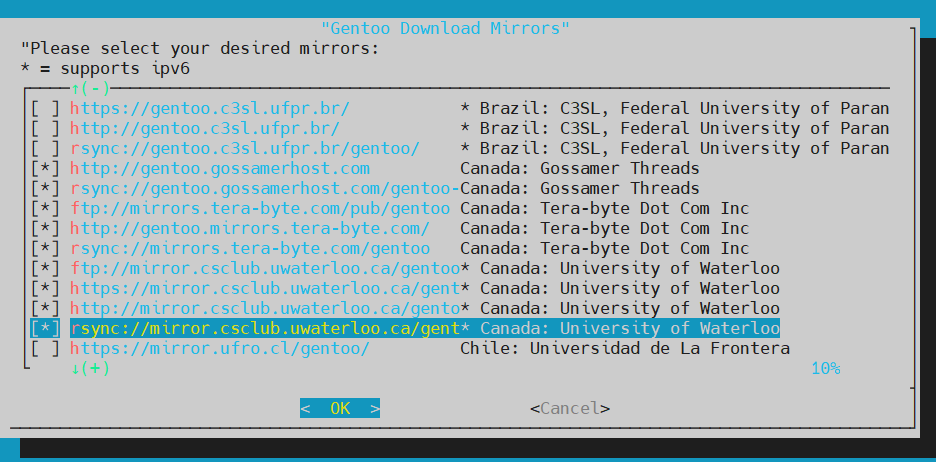
Choosing fast mirrors to speed up download times
mirrorselect -i -o >> /mnt/gentoo/etc/portage/make.conf
Gentoo ebuild repo
mkdir --parents /mnt/gentoo/etc/portage/repos.conf
cp /mnt/gentoo/usr/share/portage/config/repos.conf /mnt/gentoo/etc/portage/repos.conf/gentoo.conf
Setting DNS inside new environment
cp --dereference /etc/resolv.conf /mnt/gentoo/etc/
Mounting filesystems
mount --types proc /proc /mnt/gentoo/proc
mount --rbind /sys /mnt/gentoo/sys
mount --make-rslave /mnt/gentoo/sys
mount --rbind /dev /mnt/gentoo/dev
mount --make-rslave /mnt/gentoo/dev
mount --bind /run /mnt/gentoo/run
mount --make-slave /mnt/gentoo/run
Migrating to the new environment
This chrooting is done in three steps:
- The root location is changed from / (on the installation medium) to /mnt/gentoo/ (on the partitions) using chroot
- Some settings (those in /etc/profile) are reloaded in memory using the source command
- The primary prompt is changed to help us remember that this session is inside a chroot environment.
[Source]
chroot /mnt/gentoo /bin/bash
source /etc/profile
export PS1="(chroot) ${PS1}"
Important note found inside the gentoo handbook :
If the Gentoo installation is interrupted anywhere after this point, it should be possible to ‘resume’ the installation at this step. There is no need to repartition the disks again! Simply mount the root partition and run the steps above starting with copying the DNS info to re-enter the working environment. This is also useful for fixing bootloader issues. More information can be found in the chroot article. [Source]
Mount boot partition
mount /dev/nvme0n1p1 /boot
Configure Portage
emerge-webrsync

#when done we can verify the profile selected.  It should be stable desktop.
#In this instance i choosed [2] default/linux/amd64/17.1/desktop
eselect profile list
eselect profile set 2

#Then we need to update the @world set (this is long)
emerge --ask --verbose --update --deep --newuse @world
emerge --depclean
USE variable
To se what is currently setted you can do this command : emerge --info | grep ^USE
For now i will leave it at that…
Setting the timezone
#to get the timezone name
ls /usr/share/zoneinfo

#to set timezone
echo "EST" > /etc/timezone

#reconfigure timezone
emerge --config sys-libs/timezone-data
Set location/language
nano -w /etc/locale.gen

#add to file :
en_US ISO-8859-1
en_US.UTF-8 UTF-8

#run
locale-gen

#now set the language en_US.utf8
eselect locale list
eselect locale set 6

#Not sure about this one, it is to update the variable in the actual shell
. /etc/profile
env-update && source /etc/profile && export PS1="(chroot) ${PS1}"
Filesystem setup
#to list existing partitions
(chroot) livecd /usr/src/linux # blkid
/dev/nvme0n1p3: UUID="5074399a-16b4-4a43-a193-481cf6efab28" BLOCK_SIZE="4096" TYPE="ext4" PARTUUID="3fdfca35-69a4-0e41-b4ed-97383f5b06e6"
/dev/nvme0n1p1: UUID="DF0C-FE4A" BLOCK_SIZE="512" TYPE="vfat" PARTUUID="6d91b8f9-706f-e743-85ad-627d54cf703e"
/dev/nvme0n1p2: UUID="1578c3eb-da11-4d0f-a387-62f600bcbf18" TYPE="swap" PARTUUID="84d01c39-2273-3144-a98d-05a70258c367"
/dev/sr0: BLOCK_SIZE="2048" UUID="2022-01-30-18-27-56-35" LABEL="Gentoo amd64 20220130T170547Z" TYPE="iso9660" PTUUID="646a5eef" PTTYPE="dos"
/dev/loop0: TYPE="squashfs"


#to edit the file system
nano -w /etc/fstab

/dev/nvme0n1p1   /boot        ext4    defaults,noatime     0 2
/dev/nvme0n1p2   none         swap    sw                   0 0
/dev/nvme0n1p3   /            ext4    noatime              0 1

/dev/cdrom  /mnt/cdrom   auto    noauto,user          0 0
*Prefered setup for kernel : Using genkernel
I was not able to find the missing module from my manual compiled kernel, so I will use genkernel to make the VM boot into a stable state.
emerge --ask sys-kernel/genkernel
genkernel all

#Output when done :
* Kernel compiled successfully!
*
* --no-bootloader set; Skipping bootloader update ...
*
* Required kernel parameter:
*
*       root=/dev/$ROOT
*
* Where $ROOT is the device node for your root partition as the
* one specified in /etc/fstab

* If you require Genkernel's hardware detection features, you MUST
* tell your bootloader to use the provided initramfs file '/boot/initramfs-5.15.23-gentoo-x86_64.img'.

* WARNING... WARNING... WARNING...
* Additional kernel parameters that *may* be required to boot properly:

* Do NOT report kernel bugs as genkernel bugs unless your bug
* is about the default genkernel configuration...
*
* Make sure you have the latest ~arch genkernel before reporting bugs.
(chroot) livecd / # ls /boot/vmlinu* /boot/initramfs*
/boot/initramfs-5.15.23-gentoo.img         /boot/vmlinuz-5.15.23-gentoo.old
/boot/initramfs-5.15.23-gentoo-x86_64.img  /boot/vmlinuz-5.15.23-gentoo-x86_64
/boot/vmlinuz-5.15.23-gentoo
#Need to rerun "grub-mkconfig -o /boot/grub/grub.cfg" if it was used before to select the good kernel.
Basic host setup
#to edit the host name
nano -w /etc/conf.d/hostname

#setup netifrc
emerge --ask --noreplace net-misc/netifrc

#setup dhcp client
emerge --ask net-misc/dhcpcd
rc-update add dhcpcd default
rc-service dhcpcd start

#setup basic network config by editing this file
nano -w /etc/conf.d/net
dns_domain_lo="workgroup"
config_ens160="dhcp"

#then start network at boot with those commands
cd /etc/init.d
ln -s net.lo net.ens160
rc-update add net.ens160 default

#setup hosts file if needed
nano -w /etc/hosts

#setup root password
passwd

#set clock to local
nano -w /etc/conf.d/hwclock
clock="local"

#system logger setup
emerge --ask app-admin/sysklogd
rc-update add sysklogd default

#setup cron daemon
emerge --ask sys-process/cronie
rc-update add cronie default

#setup file indexing
emerge --ask sys-apps/mlocate

#setup ssh
rc-update add sshd default
Setting up grub
#enable efi before merging grub
echo 'GRUB_PLATFORMS="efi-64"' >> /etc/portage/make.conf
emerge --ask sys-boot/grub

#if you get error saying efi variables are not supported on this system, you need to go inside your VM .vmx file and add this : firmware="efi".  Then rerun the command below
grub-install --target=x86_64-efi --efi-directory=/boot

grub-mkconfig -o /boot/grub/grub.cfg
Then we reboot the system and are done!
exit
cd
umount -l /mnt/gentoo/dev{/shm,/pts,}
umount -R /mnt/gentoo
reboot
Thoses instructions should be all you need to boot into a stable version of Gentoo inside a VMware virtual machine. I had fun! There is more to come as we need to slap a desktop environment on this bad boy.
I strongly suggest that you do a snapshot inside VMware at this point in time.
Archives
Manually generating the Kernel (outdated)
emerge --ask sys-kernel/gentoo-sources
eselect kernel list
eselect kernel set 1

#to verify if the symbolic link called linux exist :
ls -l /usr/src/linux

#to gather information about the system we need pciutil (that let us do lspci commands)
emerge --ask sys-apps/pciutils

#Time to compile the kernel
cd /usr/src/linux
make menuconfig
Now you should go to the Gentoo Handbook, look at the Manual configuration > Activating required options and replicate the basic configurations for a functional operating system.
Then compile and install (outdated)
#compilation
make && make modules_install
#install inside /boot/
make install

#Building initramfs
emerge --ask sys-kernel/dracut

#use ls /lib/modules/ to find the version of gentoo
dracut --kver=X.X.X-gentoo
ls /boot/initramfs*
Troubleshooting NVME (outdated)
I had to troubleshoot some more on my side because of running this inside a VM and not baremetal. I figured that i was getting stuck because missing module inside the kernal. I got stuck at the loading of initial ramdisk… Below are some things i checked before using genkernel. Genkernel fixed this bug by finding automaticly the right modules. If you follow this guide you should not have those issues.
# NVME Support
#
# CONFIG_BLK_DEV_NVME is not set
# CONFIG_NVME_FC is not set

#I needed to boot back into the livecd, mount everyting back and chroot into the system.  Then run the menu again :
cd /usr/src/linux
make menuconfig

#after that i needed to go to Device Drivers > NVME Support and activate everyting under this section
You need CONFIG_BLK_DEV_NVME in your kernel to read your NVME device.
That's a menu. You may need options inside that menu too.
Sources
>Creating a Gentoo Workstation in a VMware Virtual Machine
>Vmware Installation of Gentoo Linux from scratch on an Encrypted partition